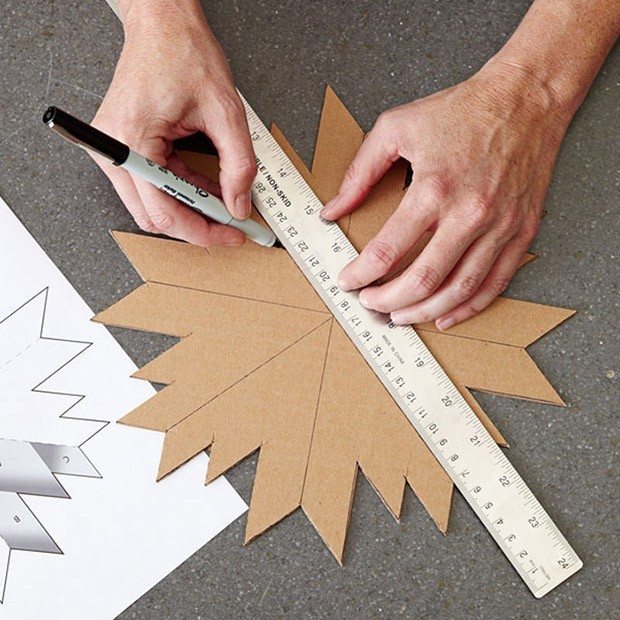
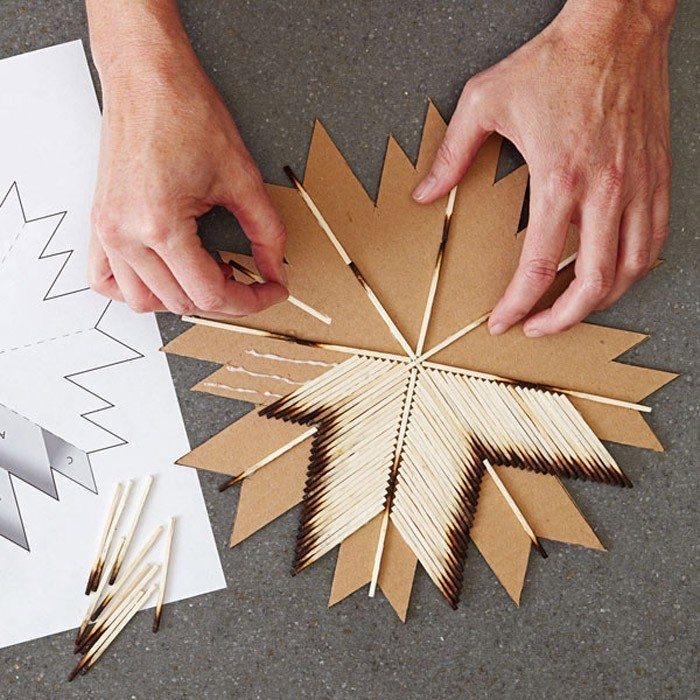
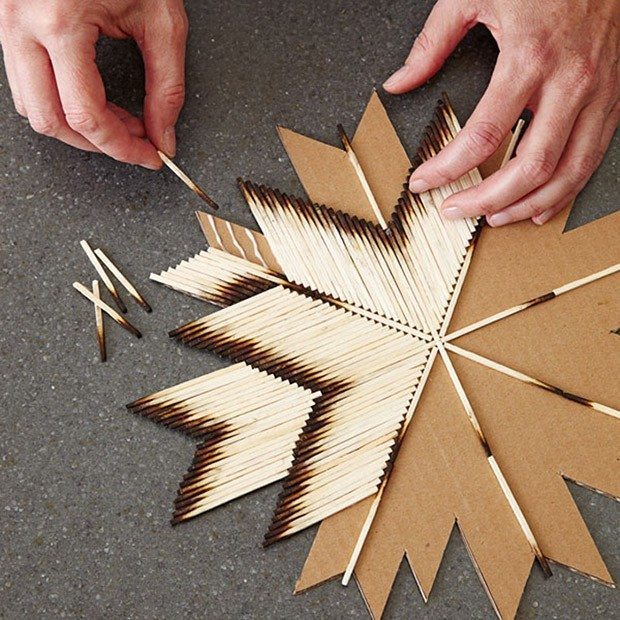
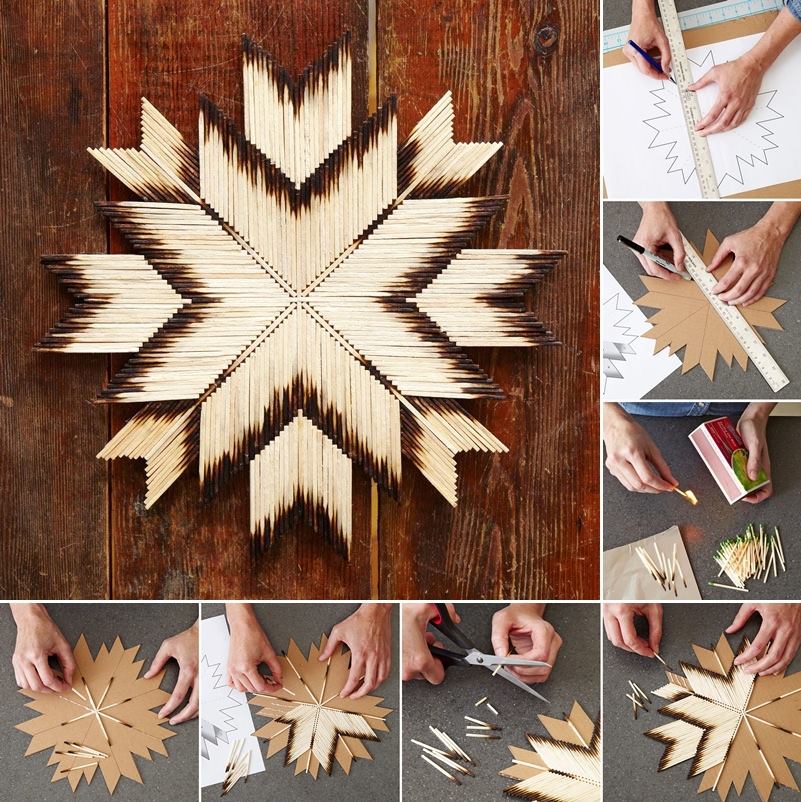
Here is an unusual way to make star wall decor with burnt match sticks, you can collect the sticks if you use match often. For the directions of the star, first you have to draw or print a star template (You can find the template directly here) on a blank piece of paper; trace the pattern on cardboard and cut the shape, draw the lines emerging from its center to all the six inward pointed edges. Then burn, blow and cool the matchsticks and remove any excess ashes from the tips. Starting from the center glue 6 matchsticks forming a star-burst like pattern. Then fill each sector with burnt matchsticks and cut the matchsticks for length adjustments if necessary. Wait till the glue dries and it’s ready.
You may love: Plastic Spoon Home Decorating Ideas
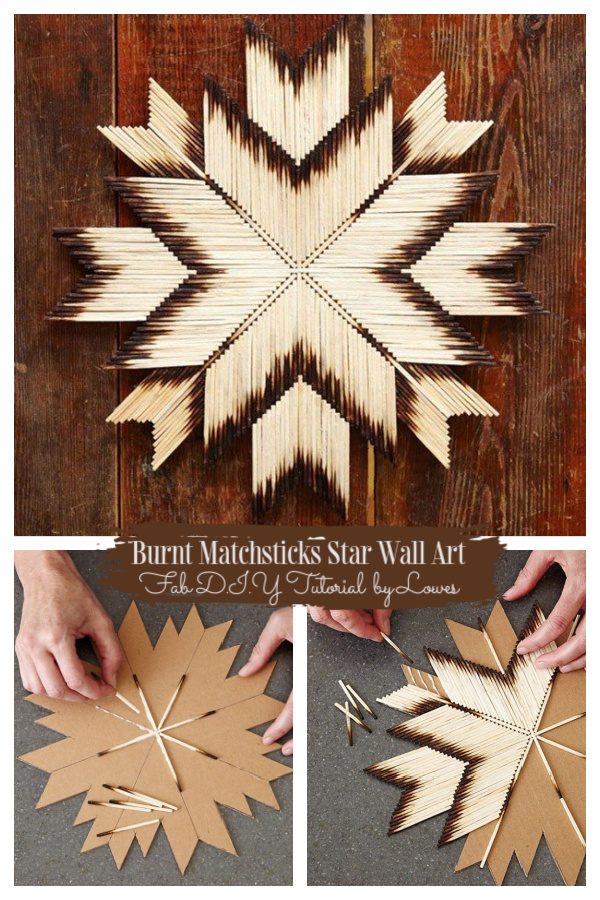
This was one of the easiest projects. It is similar to putting a puzzle together, calming like that. This turned out to be more of a protective shield for me and it can be decorated with anything when you are done. I chose to leave it as is in my photo above. The only photo not showing is after I used canvas varnish on it. Above is without any clear coat. Image via: lowes
Cost:
- Nothing to me, supplies were at home. At most, $3-5.
Supplies:
- 1 box of 2-inch Diamond Strike-On-Box kitchen matches [250 matches in 1 box]
- 4 boxes of 1 inch Diamond Strike-On-Box kitchen matches [32 matches in each box]
- All-purpose clear drying non toxic glue
- Some sort of clear, protective coat [optional, I used clear varnish for canvases]
- Anything that can be used as a hanger for the back
- Flat cardboard or similar medium for backing
Directions:
- Print this –> Matchstick Star Pattern
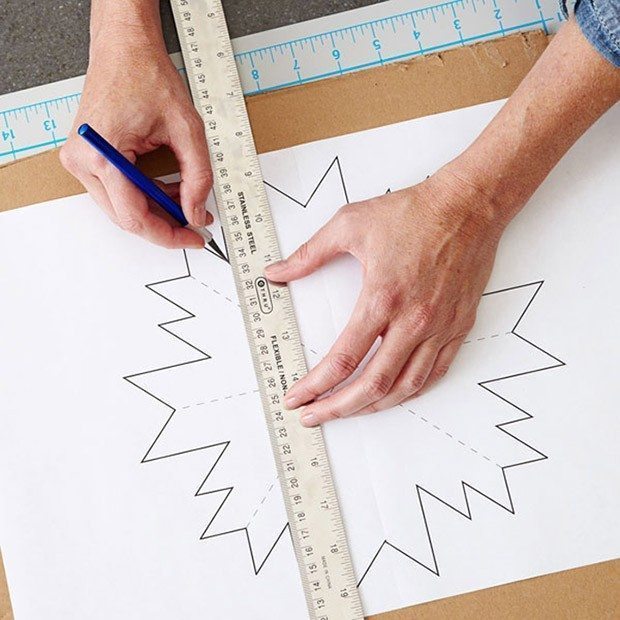
- Cut the pattern out and lightly glue the 2 pattern sheets side by side to the flat cardboard so you see the pattern.
- Cut out the entire pattern dried on the cardboard. This way you have the pattern to follow and a hard cardboard backing for your star.
- Light and burn one matchstick at a time. Hold the matchstick at a slight downward angle, rolling the stick between your fingers to create an even charred tone around the match slightly beyond the tip. Quickly extinguish the flame and place the matchstick on a heatproof surface until it cools. Once you burn a few, you get the idea. This goes quickly.
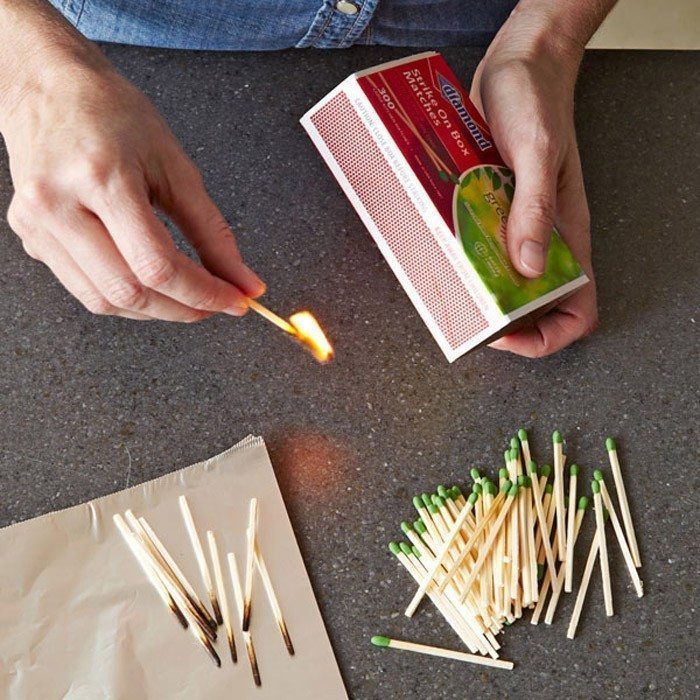
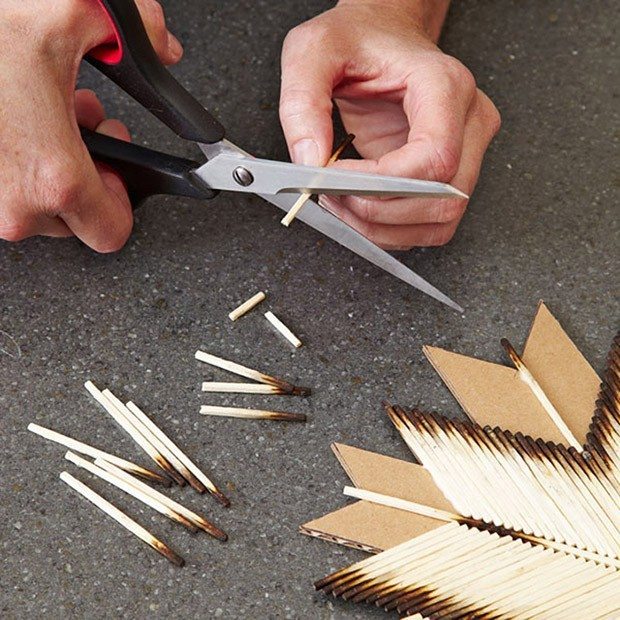
- Work in a well-ventilated area and quickly blow out the matchstick to preserve the wooden part of the tip. To conserve matches, light only 25 matches and use those up before burning more as needed while you work. I also used small box matches for the edges instead of cutting the large matchsticks in half.
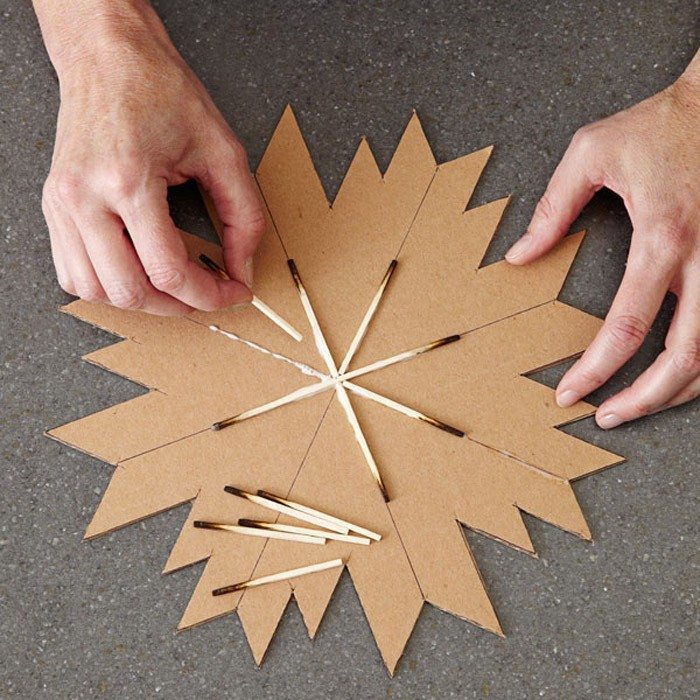
- Starting with the center with the clean ends of the match touching the center of the star, place the first six matchsticks onto the guidelines. Let that dry.


