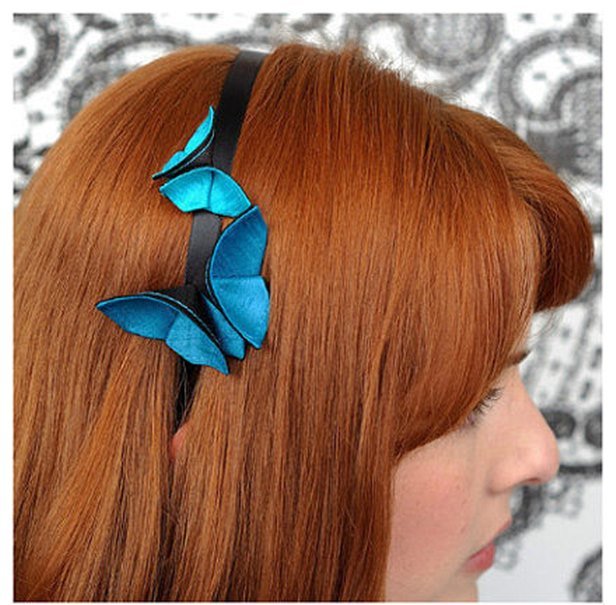
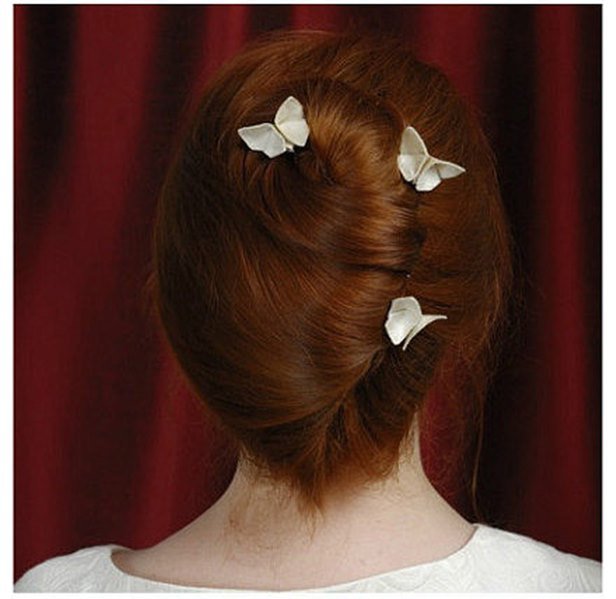
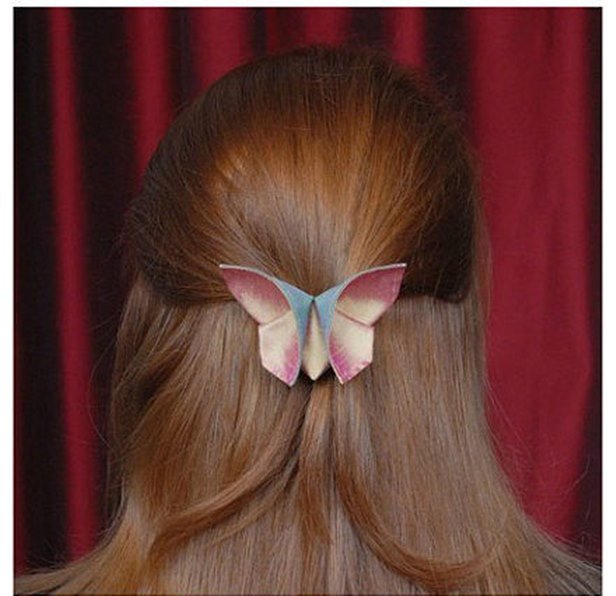
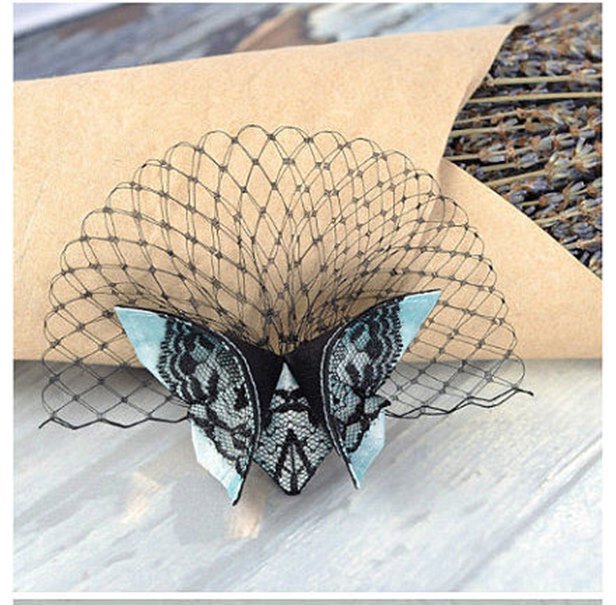
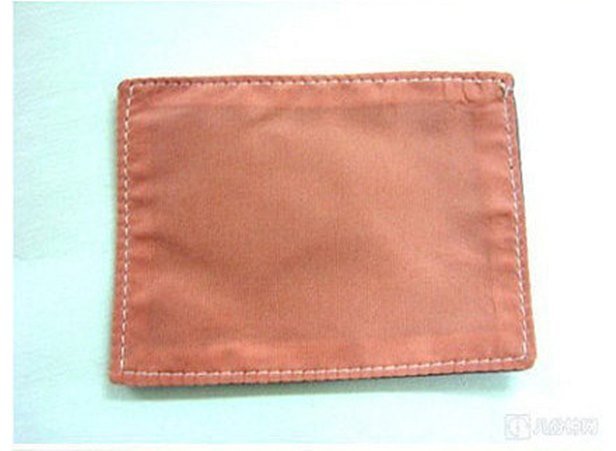
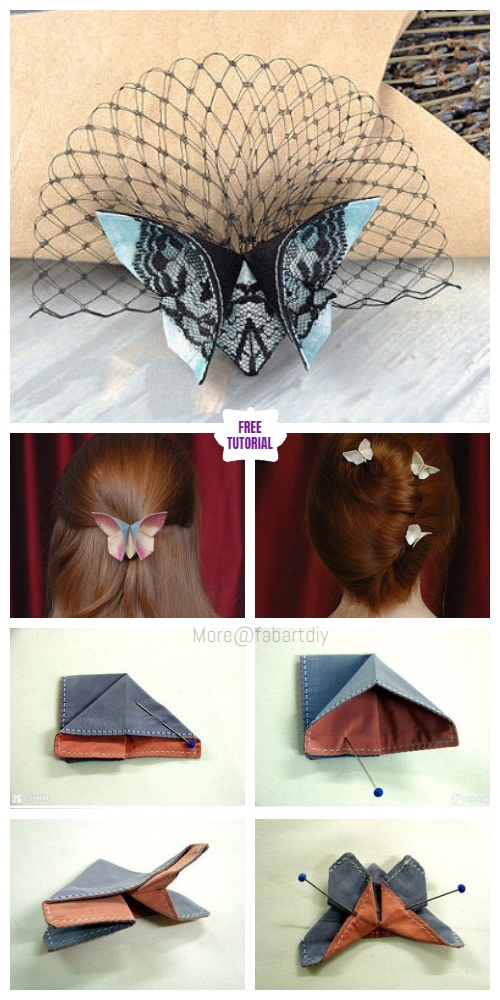
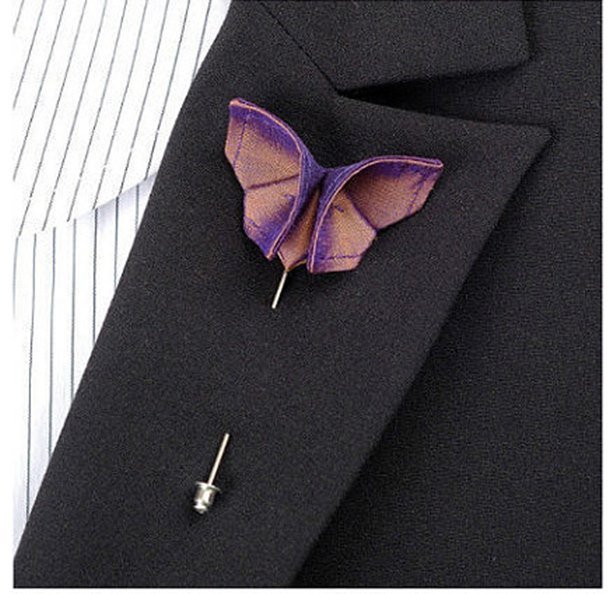
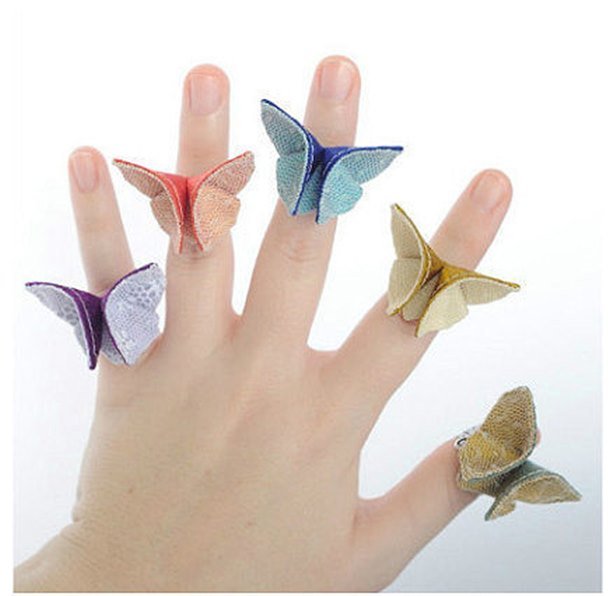
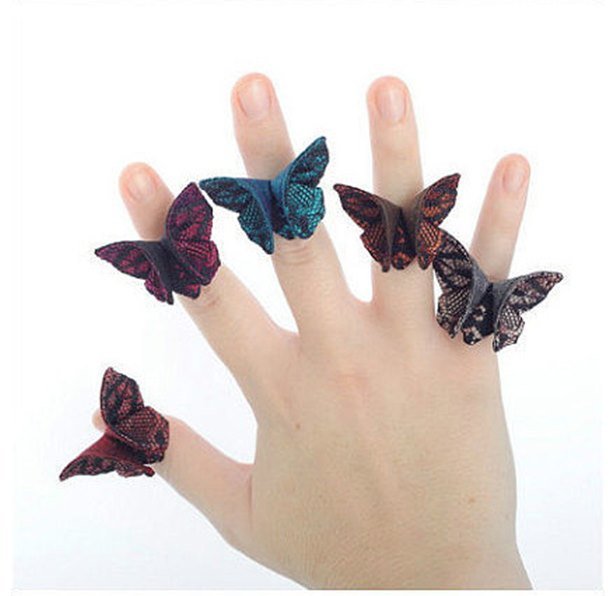
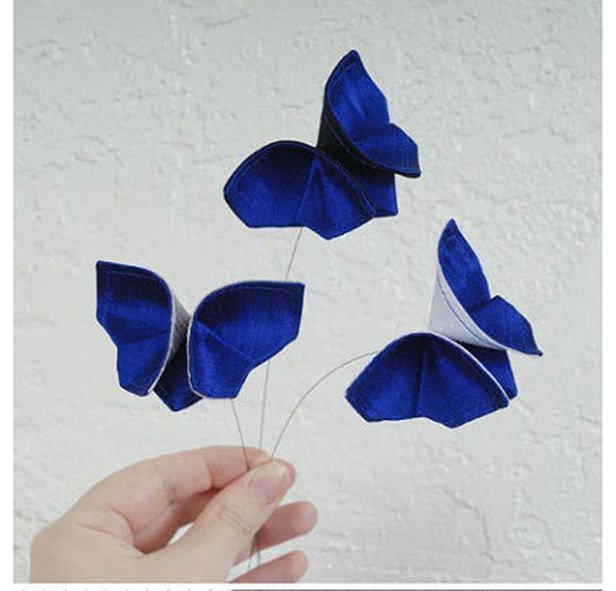
Make an easy origami butterfly for hair clip, rings, home and fashion decoration, it’s super easy. If you are asked for the insects you love, butterfly will be one of the top choices. No matter little ones or adults, we tend to love butterflies. I have shared so many butterfly crafts on our website. The collection of DIY Butterfly Nail Art Ideas are fabulous to nail on during Spring, the Beautiful Butterfly Cake designs are full of surprises and will be brilliant for any party treats. The Magical Floating Butterfly Lantern is another one that you will love to craft with kids. You can sew two piece of square cloth together as photo shown, or use beautiful fabric directly such as crochet or lace.
You may love: Quilted Butterfly Potholder Sew Pattern
Materials:
- Fabric Rectangle
- Glass head pin
- Sewing needle and thread
A few glances:
How to:
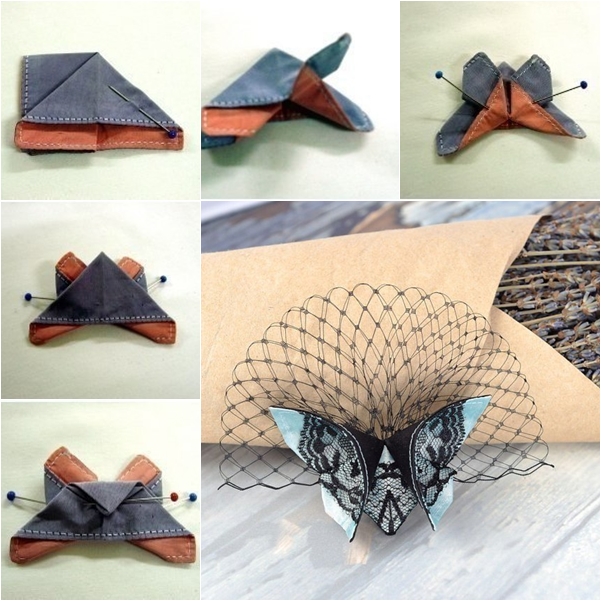
Fold the rectangle in half on short side.
Fold it in half again, Press along as you go, and keep adjusting the work at each step to check the corners match up.
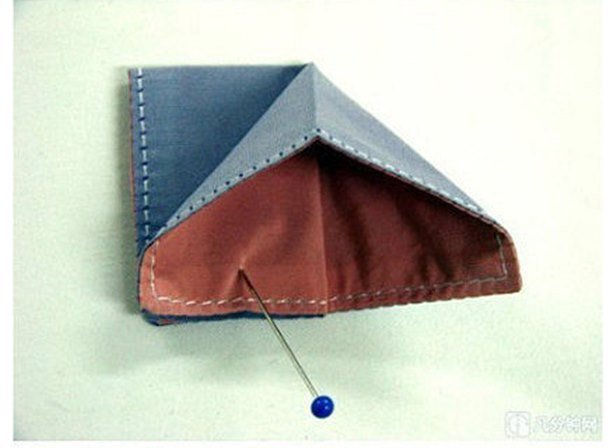
With the folded edge of the rectangle facing you, lift and fold the left corner toward the bottom right corner. This should form a triangle.
Flip over. Now your fabric shape should look like this.With your work flipped over, lift the rectangular shape so it points upwards. Press the folded left corner of the rectangle toward the bottom right corner. This creates another triangle. Ensure the lengths line up.
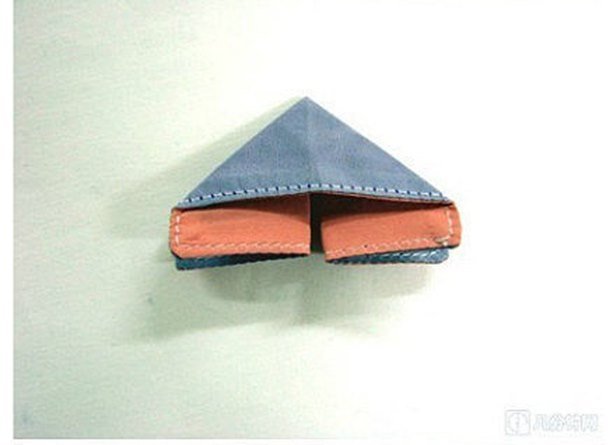
Now you have a triangle and two small rectangles below it. Starting with the right rectangle first, turn the bottom-left corner inwards and fold a diagonal line across the rectangle, starting top-left to bottom-right.
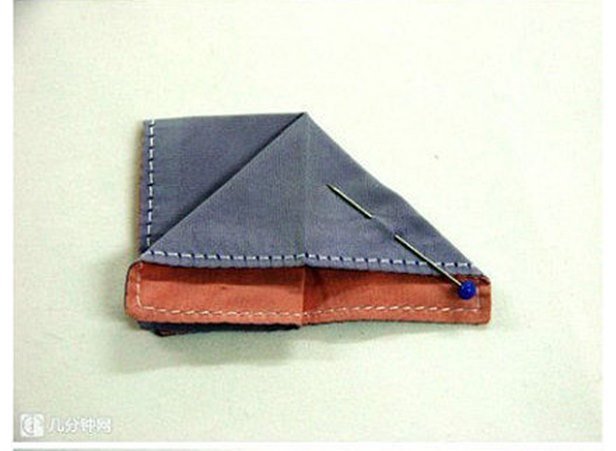
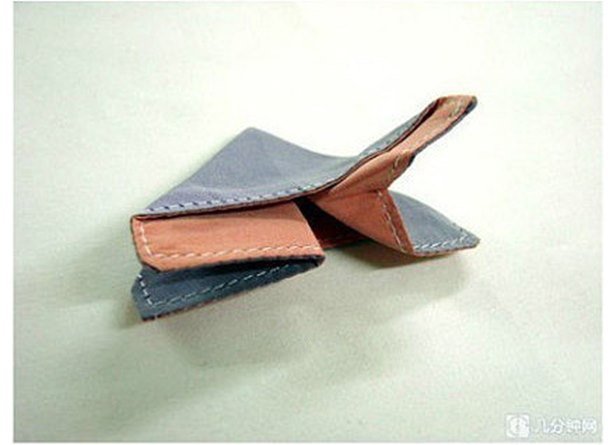
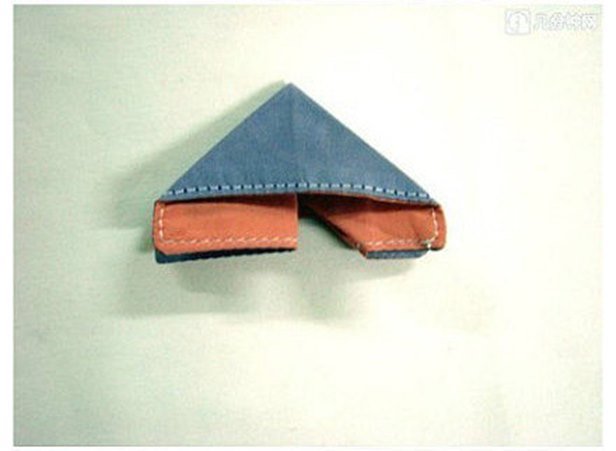
Do the same for the left rectangle: turn the bottom-right corner inwards and fold a diagonal line across the rectangle, starting top-right to bottom-left. With the peak of the triangle pointing left, fold the top layer of the right-hand corner toward the triangle peak. Your diagonal fold along the rectangle now becomes the butterfly’s body.
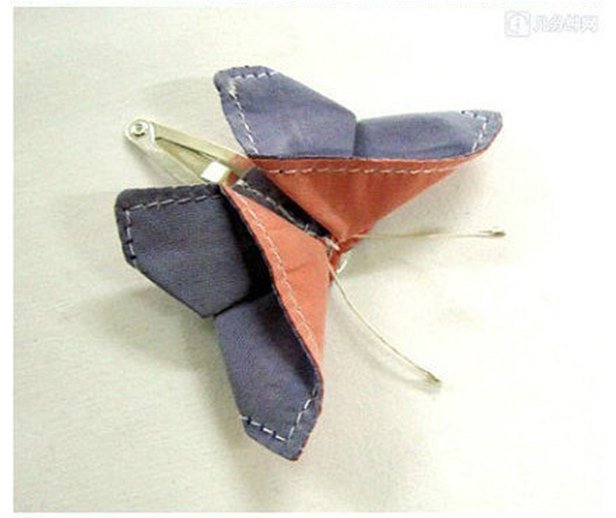
Do the same with the bottom corner: fold top layer of the bottom-right corner toward the peak of the triangle. Pinch the bottom corners to firm up the body and stitch in place with needle and thread.
Don’t forget to share with your friends who love butterflies below:
